
日本語版【Salesforce連携 [ML4SF初期設定] 】はこちら
0. Table of Contents
![]() Preparation
Preparation
![]() Installing “MakeLeaps for Salesforce”
Installing “MakeLeaps for Salesforce”
![]() Salesforce Settings
Salesforce Settings
ー・Change Connected App Permissions
ー・Allocation Management
ー・Edit Accounts
ー・Add “Accounts” Screen to MakeLeaps
ー・Add Sync With MakeLeaps” to accounts list view
ー・Edit Contact
ー・Add “Account Administrator” screen to MakeLeaps
ー・Edit Opportunity
ー・Add “Opportunity” screen to MakeLeaps
ー・Add “Sync with Makeleaps” to Lead List View
![]() Open ML4SF
Open ML4SF
ー・Connect MakeLeaps from Salesforce
ー・Authenticate MakeLeaps application
ー・Set Company Information in MakeLeaps
ー・Set default settings to include account
ー・Sync “Account” information with MakeLeaps
ー・Set per Account send method
![]()
![]() Other
Other
ー・Supported Browsers
ー・If unable to add permission set with “Professional edition”
ー・Add a New User
ー・Add a MailPoint
ー・Use the Import Function
ー・Setting Login Access Permissions
ー・Conversion to Classic for users of “Lightning Experience”
ー・Lightning Experience changes for users of “Classic”
ー・Browser settings for Safari
ー・Browser settings for Internet Explorer
ー・Browser settings for Firefox
ー・Browser settings for Google Chrome
Setting ML4SF (MakeLeaps for Salesforce)
1. Preparation
*This is only required for the first use (See here to add a user)
*If you are installing an upgrade package then please skip to 2.”MakeLeaps for Salesforce”
- Log in to Salesforce account
[Required Items]
System administrator account (to install and set permissions) - If you have an existing MakeLeaps account, please log out
(To use this function, you must make a new MakeLeaps account rather than using an existing account. To migrate data and MailPoints, please contact support@makeleaps.com) - Users of Lightning Experience should set it to Classic Mode
Setting method is here
2. Installing “MakeLeaps for Salesforce”
- Download MakeLeaps from the AppExchange®
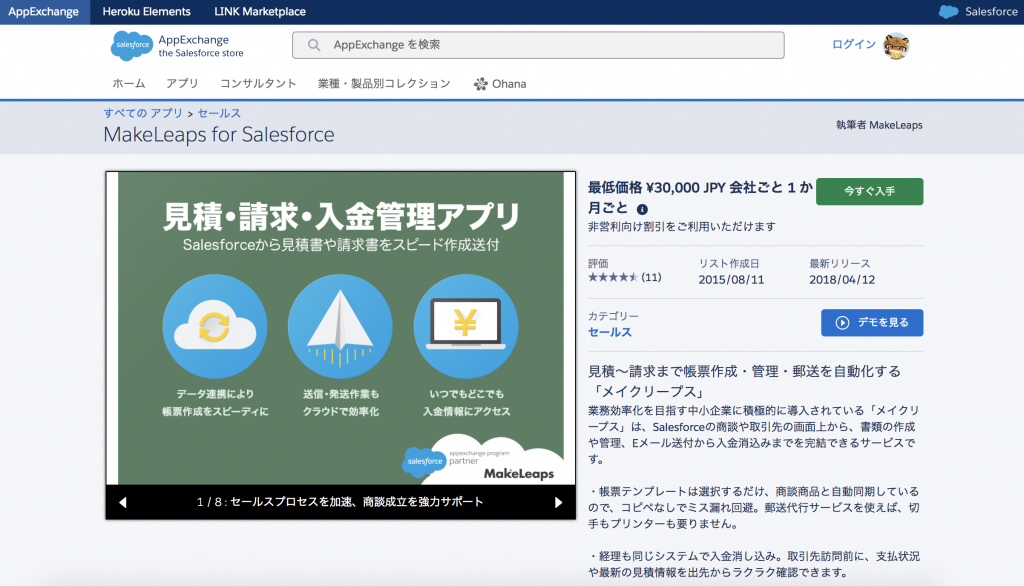
- “Download Now” >“Install Live Environment” > After reading rules and requirements, check the “agree” button and click “Confirm and Install”
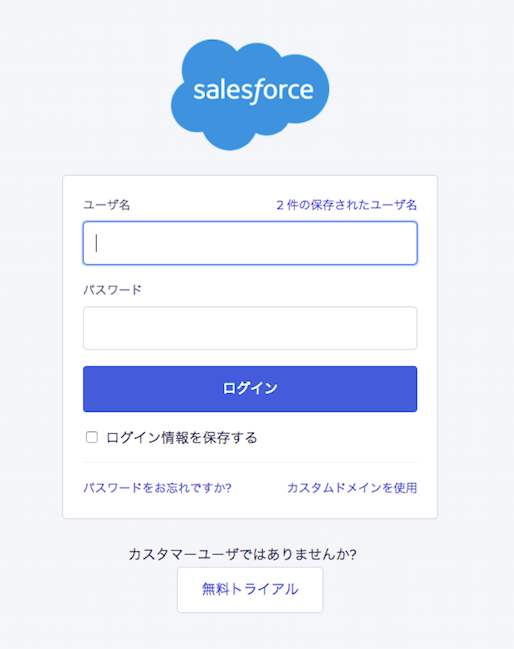
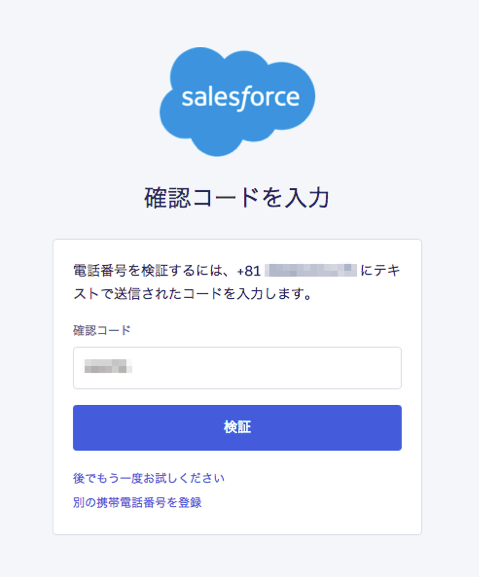
- On the displayed log in screen, enter username and password
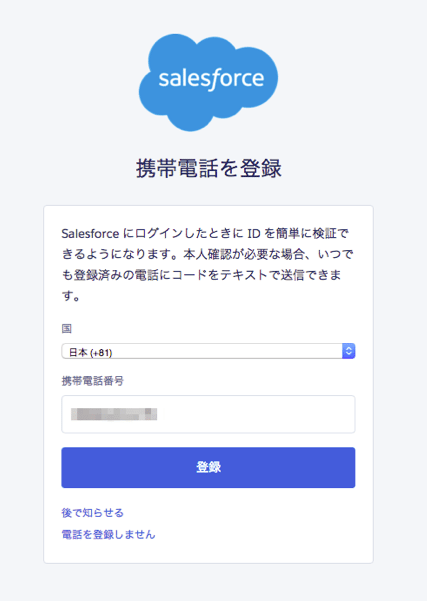
- To easily recover your ID, input your mobile phone number to register it, then enter the code that is sent to your phone and click “Authenticate.”
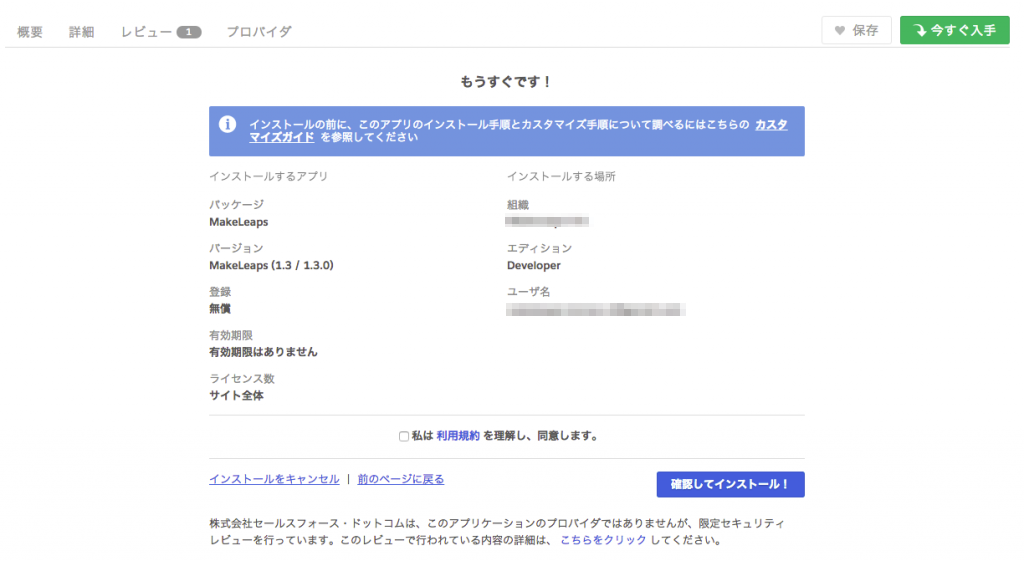
- Select “Install For All Users” in the package installer, then click “Install.”
*It is not possible to select “Install for Administrator” or “Install for Specified Profile.”
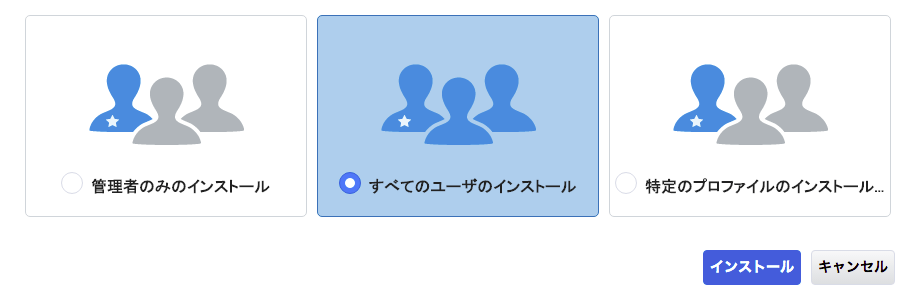
*For users who will not use MakeLeaps, view management can be controlled in “Allocation Management”. - Check the box by “Allow Third Party Access” and click “Next.”
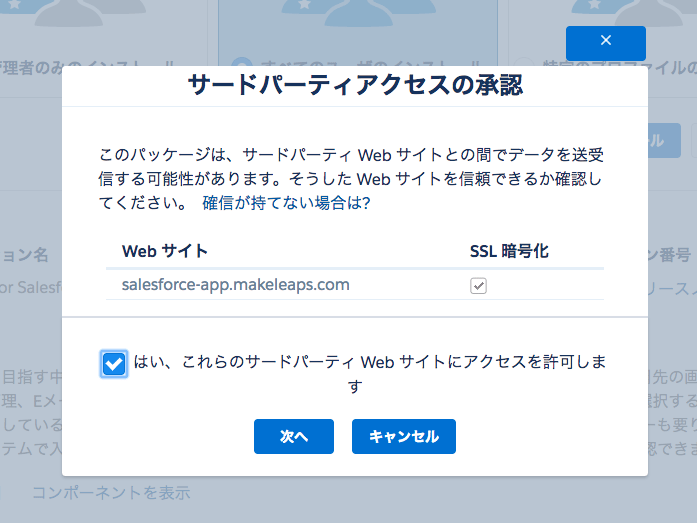
- Select “Allow Access for All Users” in the package manager and then click “Next”

- Click “Install” in the package manager

*If you are installing a upgrade package then the process is now complete
3. Salesforce Settings
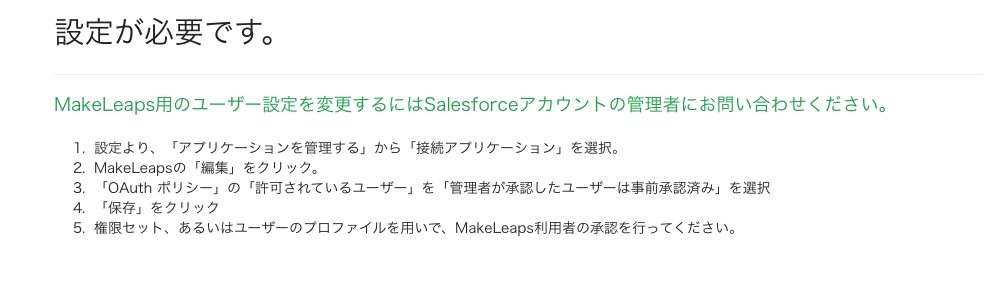
Edit Connected App permissions
- Click on “Settings” in the upper-right of the screen
- Select “Management” > “Manage applications”> “Connected Applications”
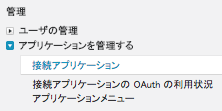
- Click on “Edit” next to “MakeLeaps”
- In the Oauth Policy, select “Users authorized by administrator are pre-authorized” in “Permitted Users”
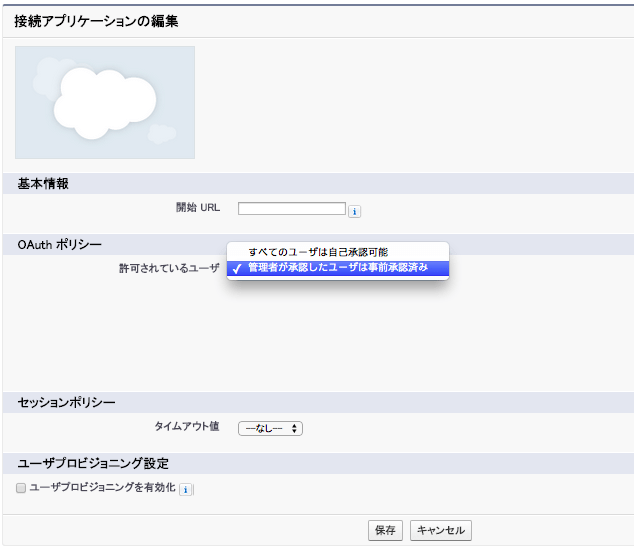
- Click “Save”
Allocation Management
- Click on “Settings” in the upper right
- Select “Manage” > “User Management” > “Permission Set” from the left menu
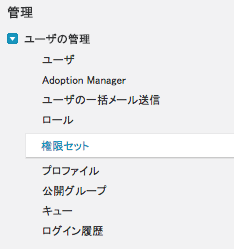
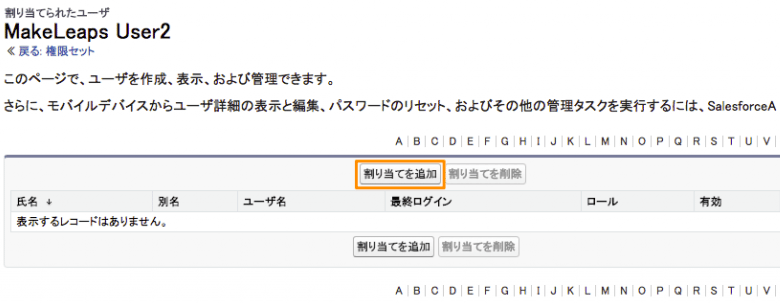
- Click “MakeLeaps User”(or on the new permission set made in “Edit Permission Set”)
- Click on “Allocation Management”

- Click “Add Allocation”
- Select the user that will use MakeLeaps and click on “Allocate”
*For users that will not use MakeLeaps, they will not be displayed if you make no allocation here.
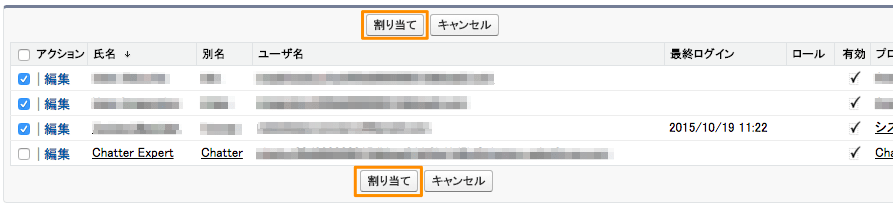
- Confirm Completion Message

- Click “Finish”
Edit “Accounts”
Add “Accounts” screen to MakeLeaps
- Click on “Settings” in the upper right

- Select “Build” or “Application Settings” > “Customize” > “Account” >”Page Layout”
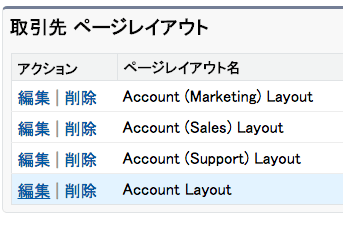
- Click “Edit” next to “Account Layout”
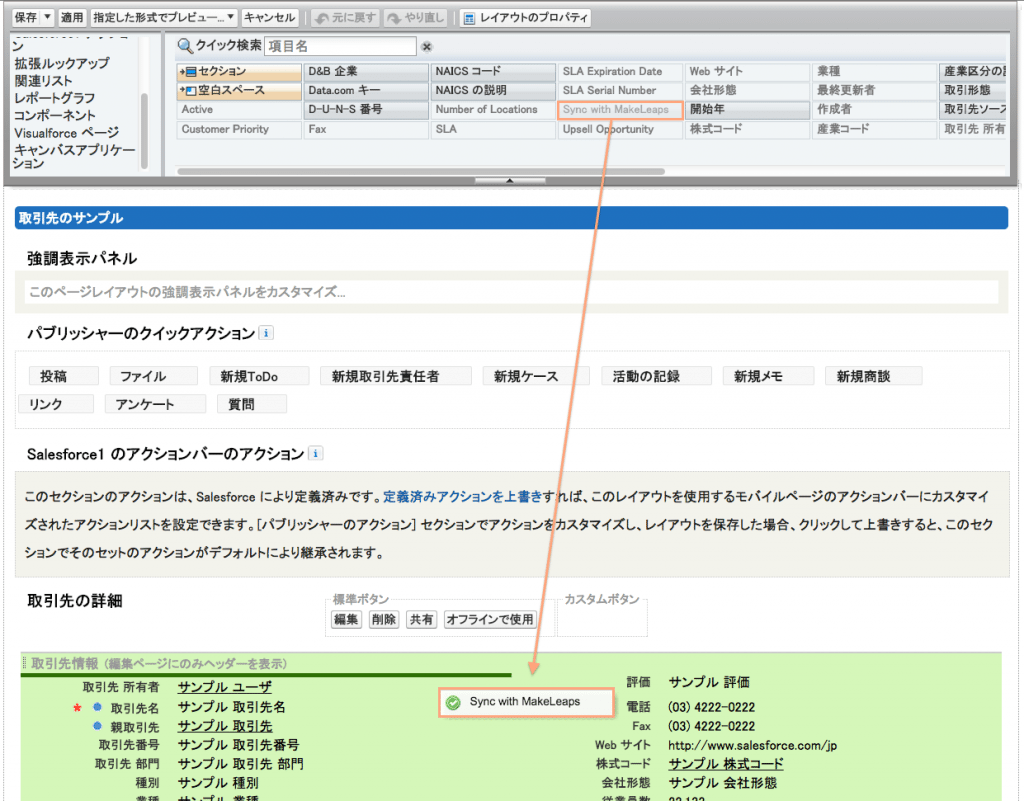
- Drag “Sync with MakeLeaps” from the layout panel to “Account Information” on the bottom
- Select “Visualforce Page” on the layout page, and drag & drop it to the “Details” below “Account Documents”
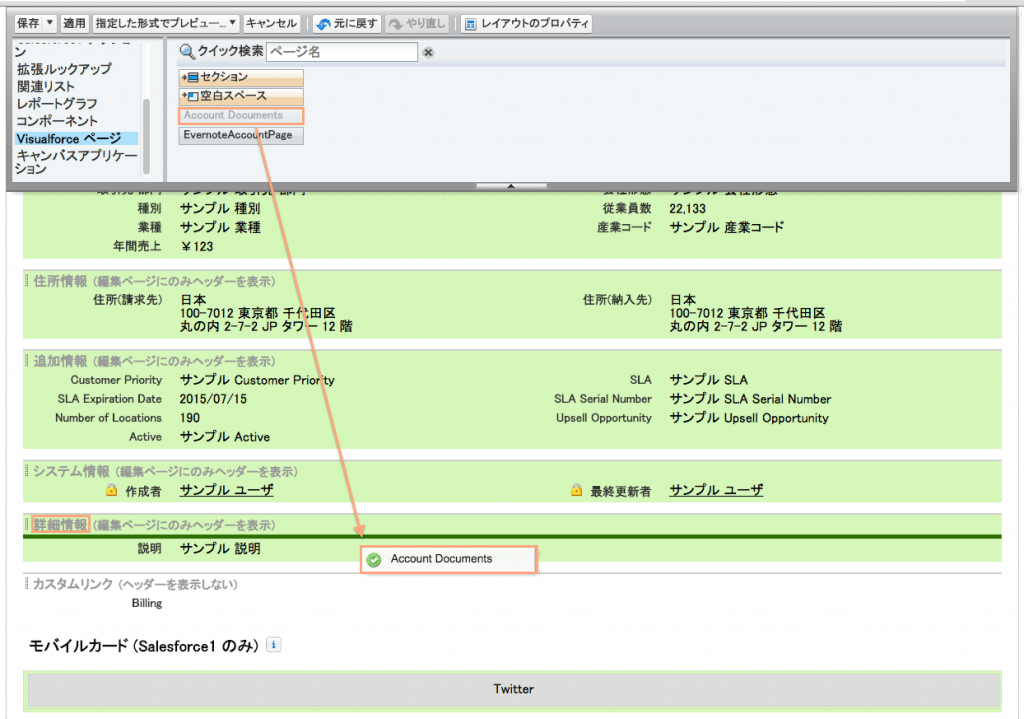
(Minimum Height: 350px) - Click on “Save” in the layout panel
Add “Sync with MakeLeaps” to the Account List View
- Click “Setting” in the upper right
- Click “Build” or “Application Settings” > “Customize” > “Account” >”Search Layout”
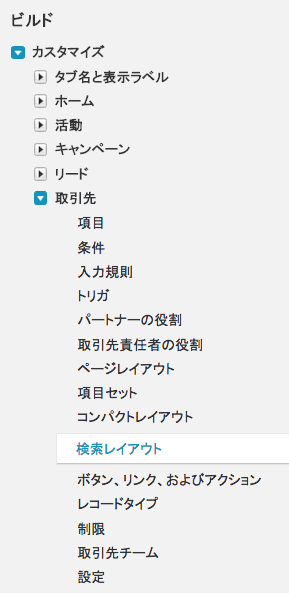
- Click “Edit” next to “Account List View”
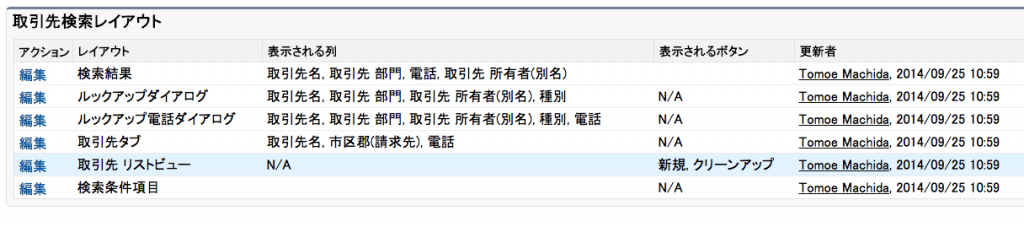
- For Custom Buttons, add “Sync with MakeLeaps” to Selected Buttons.
- Click on “Save”
Edit “Account Administrator”
Add “Account Administrator” screen to MakeLeaps
- Click on “Settings” in the upper right
- Click on “Page Layout” in “Build or Application Settings” > “Customize” > “Account Administrator”
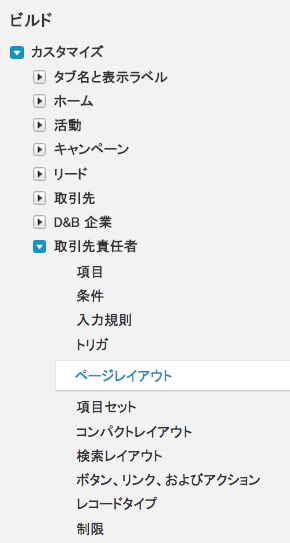
- Click on “Edit” next to “Contact Layout” or “Account Administrator Layout”
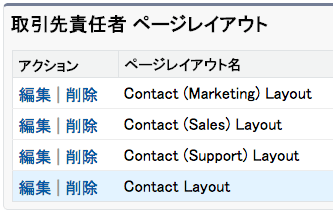
- Select “Visualforce Page” from the layout panel, then drag and drop “Contact Documents” to the “Detailed Information” section on the bottom.
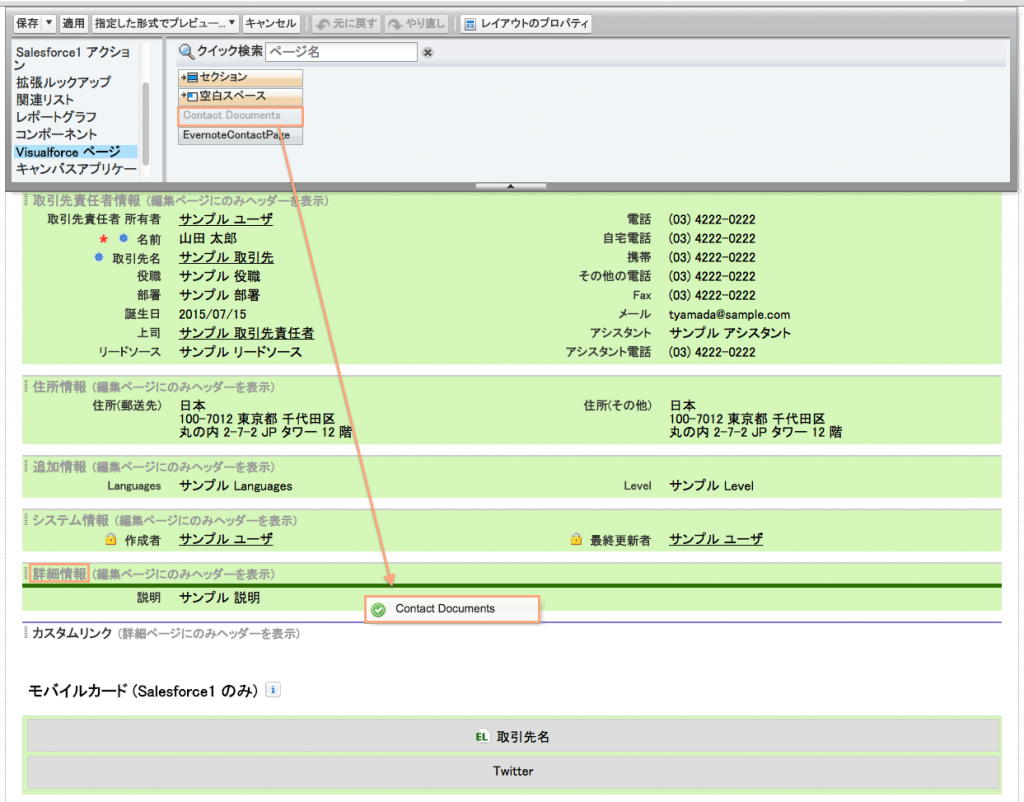
(Minimum Height: 350px) - Click on “Save” in the layout panel
Edit “Opportunity”
Add an “Opportunity” screen to MakeLeaps
*This step is not required for users of Force.com.
- Click on “Settings” in the upper right
- Click “Page layout” under “Build” or “Application Settings” > “Customize” > “Opportunity”
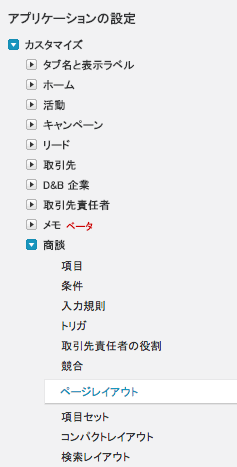
- Click on “Edit” next to “Opportunity Layout”
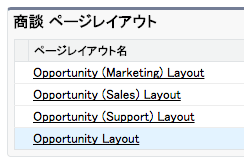
- In the layout panel, navigate to “VisualForce Pages” and drag & drop “Section” to “Detailed Information” near the bottom. Name the section “MakeLeaps” and click “OK”
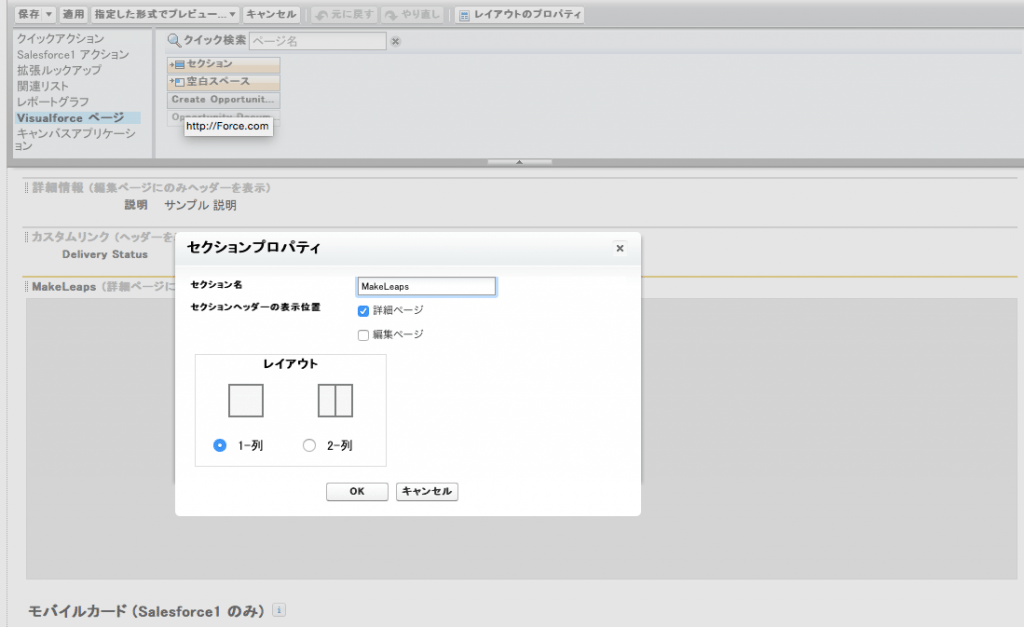
- Select “Visualforce Page” in the layout panel and drag & drop “Opportunity Documents” into the “MakeLeaps” that was created
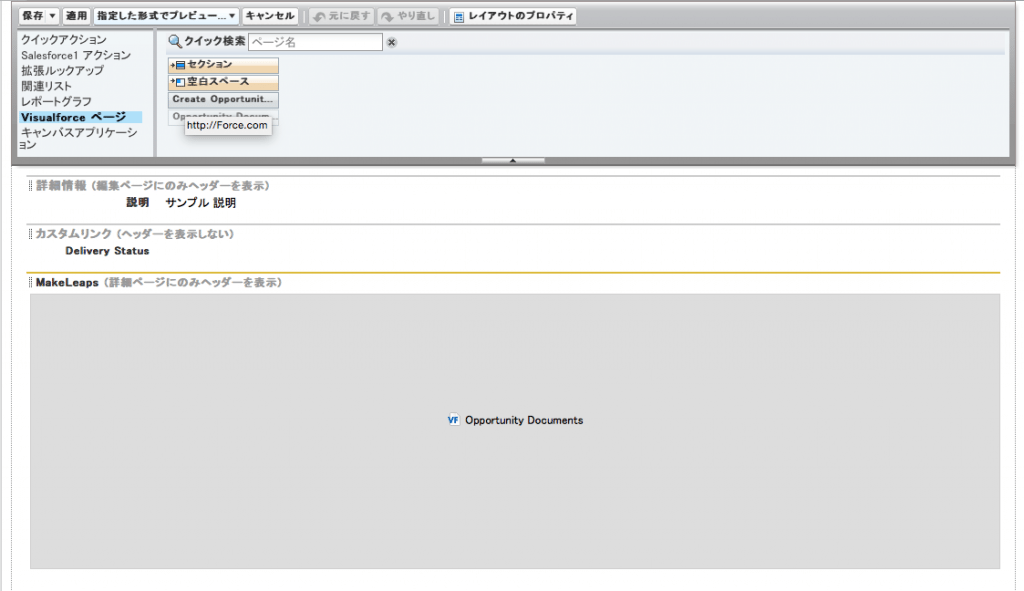 (Minimum Height: 350px)
 - Click “Save” in the layout panel
4. Start ML4SF
Connect to MakeLeaps from Salesforce
Authenticate MakeLeaps application
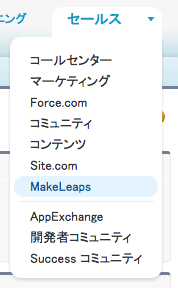
- Select “MakeLeaps” application
- Check the box next to “Agree to Terms of Use” then click the “Use MakeLeaps” button
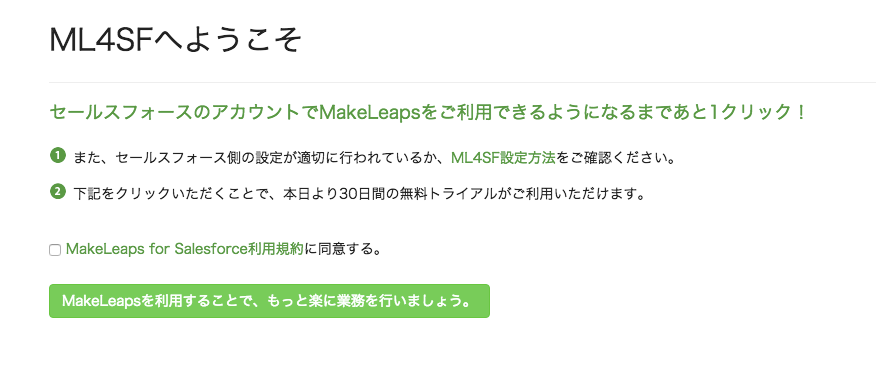
*If a page saying “Administrator Privileges Required” is shown, please click the “MakeLeaps Home” tab - Complete
Sync “Account” information with MakeLeaps
Select if you want All Salesforce “Account” information Synced with Makeleaps.
Under “Accounts,” the information with “Allow MakeLeaps Export” checked will be synced with MakeLeaps (Account Administrators are the same.
- From the “Account” tab, select the “All Account” view
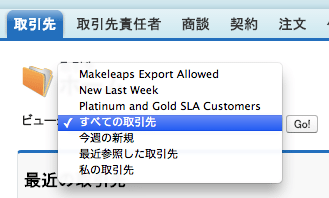
- Select the Account to synchronize and click on “Sync with Makeleaps”
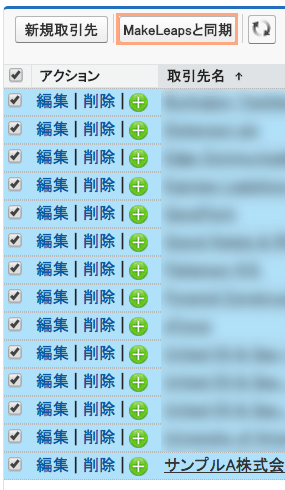
- Click “Confirm” on the confirmation screen
- Complete (Depending on the number of accounts selected, it may take some time before it is reflected in MakeLeaps.)
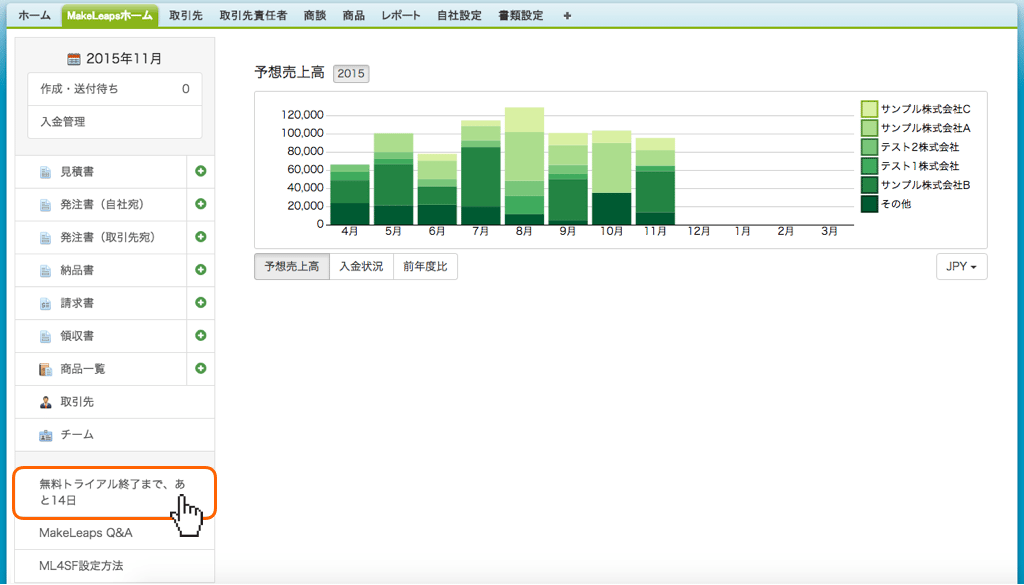
5. Plan Signup
- 1. Click on “__ days remaining in free trial” from the bottom of the left-hand menu
- After selecting plan, click on “Apply for ML4SF”
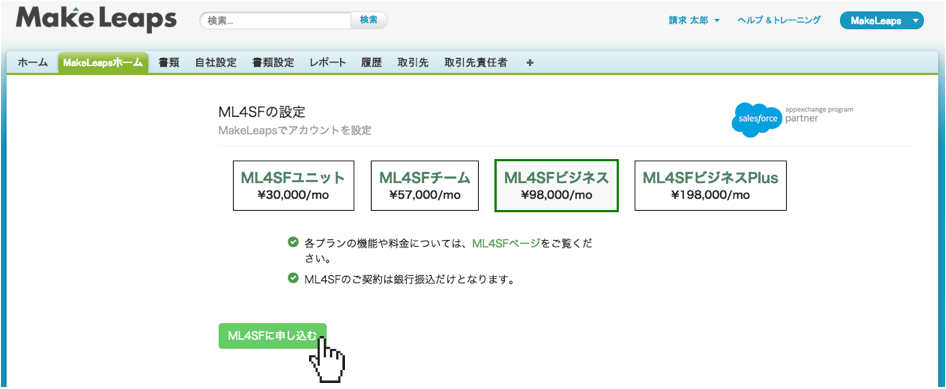
- Enter billing information, then click on “Apply for ML4SF”
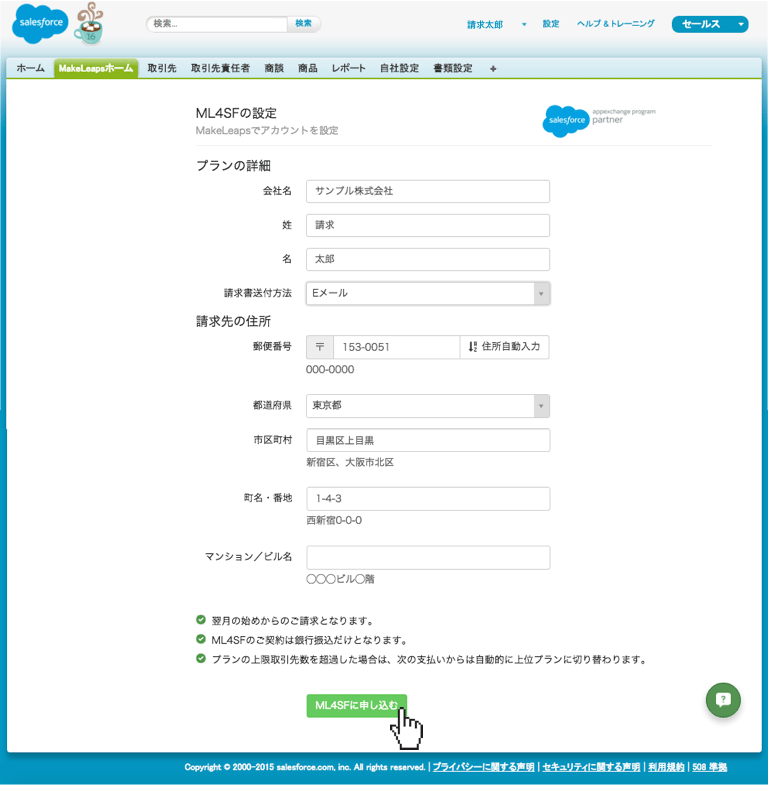
*Only monthly contracts (bank transfer) are available.
*The amounts shown are for one organization (with unlimited users). Please contact us for details.
*If you will use the sending service, an additional charge of 158 yen (tax exclusive) per mail will be charged.
*Salesforce Professional edition or Force.com can be used.
- 1. Click on “__ days remaining in free trial” from the bottom of the left-hand menu
6. Other
Supported Browsers
Salesforce Classic is supported on Microsoft® Internet Explorer versions 9, 10, 11, Apple® Safari® version 8.x for Mac OS X, and Windows® 10 on the Microsoft® Edge. In addition, the latest stable versions of Mozilla® Firefox® and Google Chrome™ are also supported. There are some limitations.
If unable to create permission set while using the Professional Edition
There is a limit to the number of permission sets that can be added with the Salesforce Professional Edition.
If you have reached the limit and cannot copy a permissions, please use an existing permission set.
Add new user
- Register a new user with a Salesforce Organization (Settings > User management > Create New)
- Click on the the “MakeLeaps2” that was created using allocation management in Settings > User Management > Permission Set
- Click on “New Allocation”
- Select new user from list, save
Add mail point
To send documents, at least one mail point is required.
- Click on “Company Settings” from “MakeLeaps”
- Click on the “Purchase Mail Point” button, and click “Proceed to Checkout” after setting the number of mail point you want to get.
※You can choose from the button 10, 20, 50, 100 or you can enter an amount directly.(Up to 1000MP at a time.)
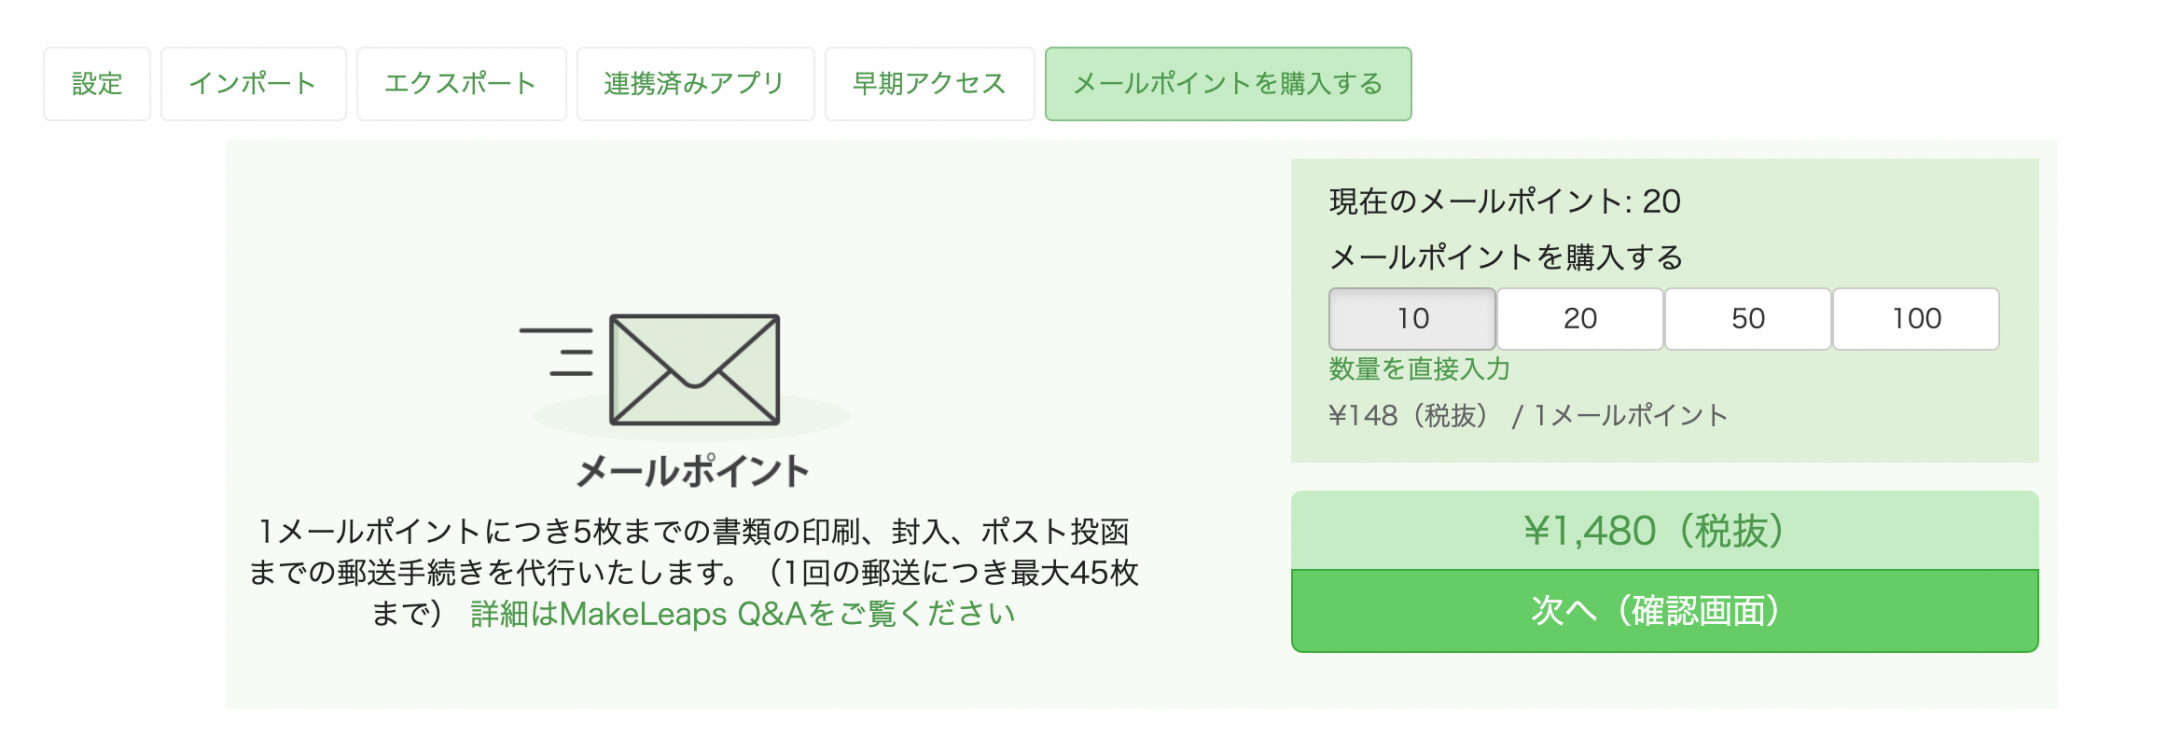
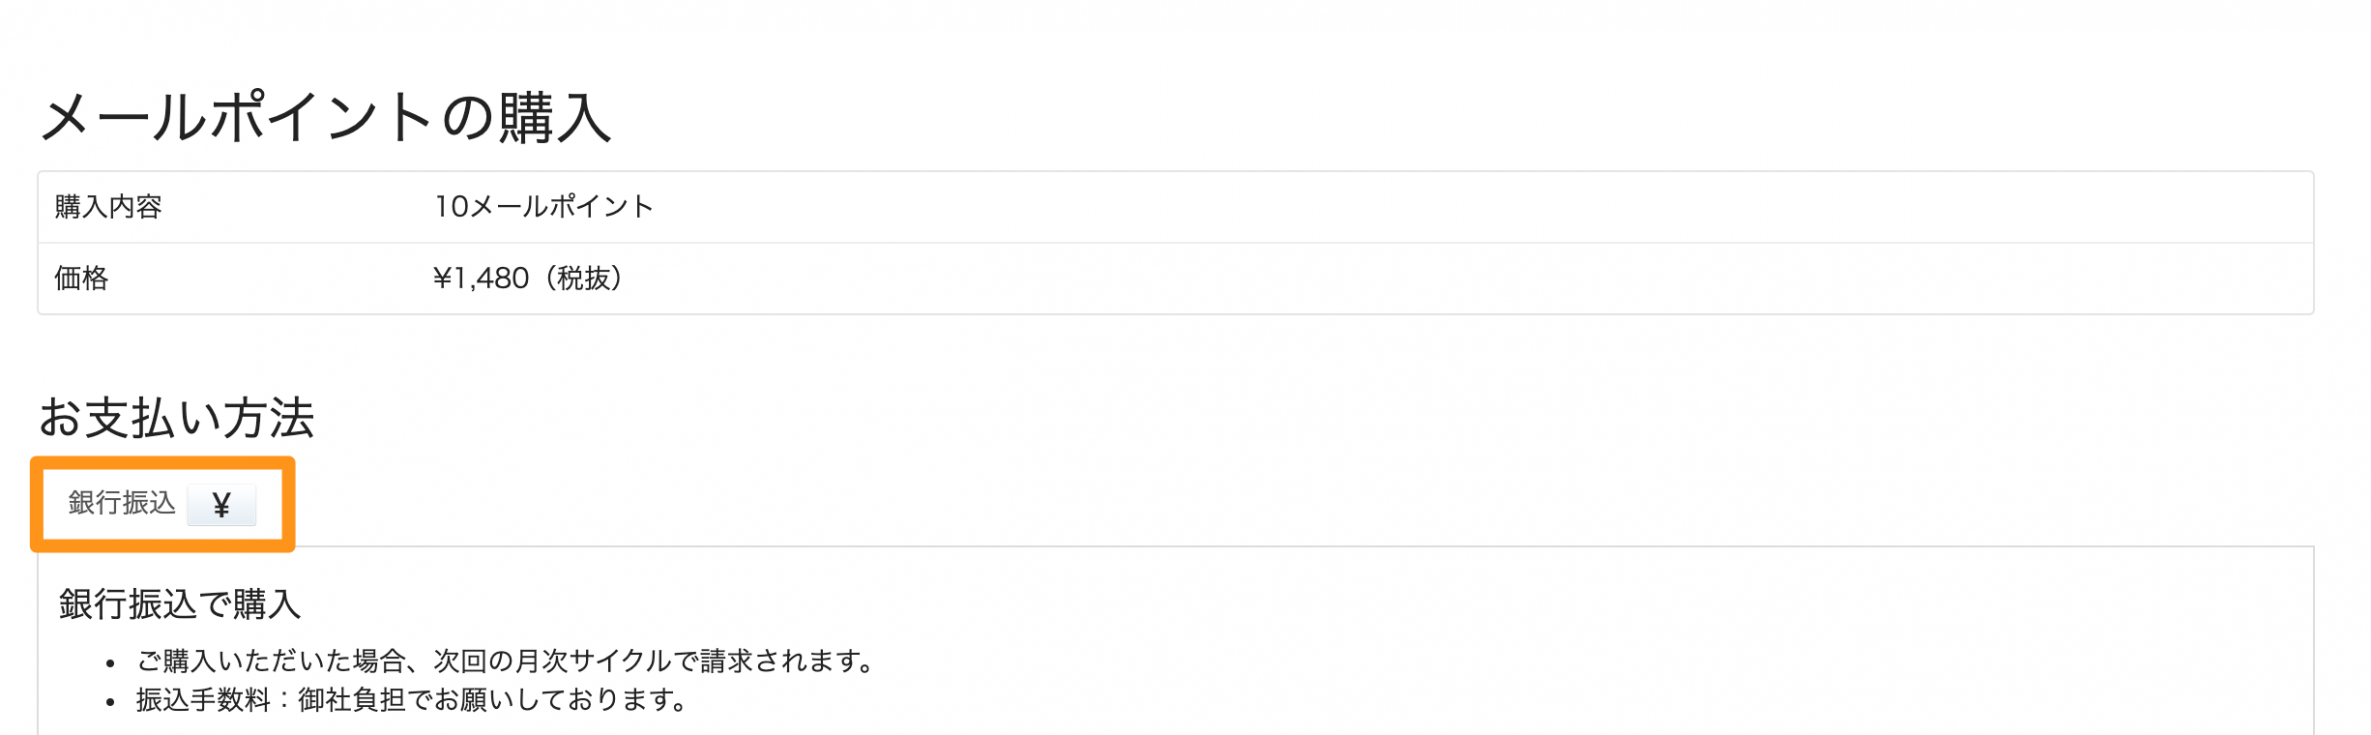
- Choose the payment method then click “Purchase”.
*Points will be added, and they can be used immediately.
Using the Import Function
It is possible to import data using excel or CSV.
Please see [ML4SF] Import Function for details
Setting login access permissions
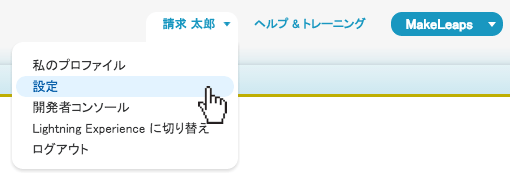
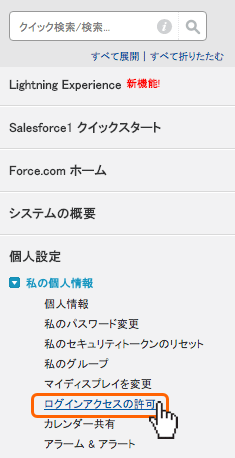
- Click on “Settings”/”Personal Settings” under “Name” at the top of the page.
- Click on “Login Access Permissions”/”Shared Login Access” from the “Personal Information/Personal” section under “Personal Settings/My Settings” from the menu on the left.
- Grant access to “MakeLeaps – ISV Edition Support”, set the Access Duration to “3 days”, and click save.
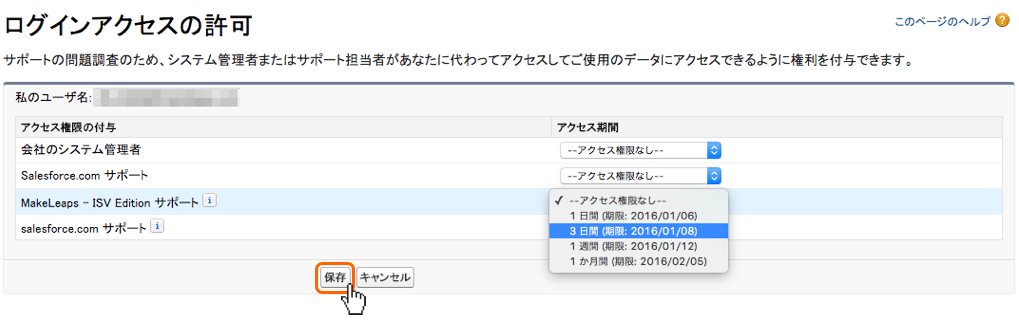
*Depending on the survey situation, it is possible that another operator will log in.
*When our support staff uses login access permissions and logs in via proxy, records are kept in the configuration change history for your organization.
- Click on “Settings”/”Personal Settings” under “Name” at the top of the page.
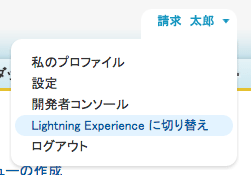
Method for updating to Classic from Lightning Experience
Users of Lightning Experience should go through the procedures above to change to Classic Mode settings.
- Click the “
 ” icon in the top right and select “Home Settings”
 - Click on “Lightning Experience” under the menu bar.
- Turn off “Activate New Salesforce Environment” at the bottom of the displayed screen.
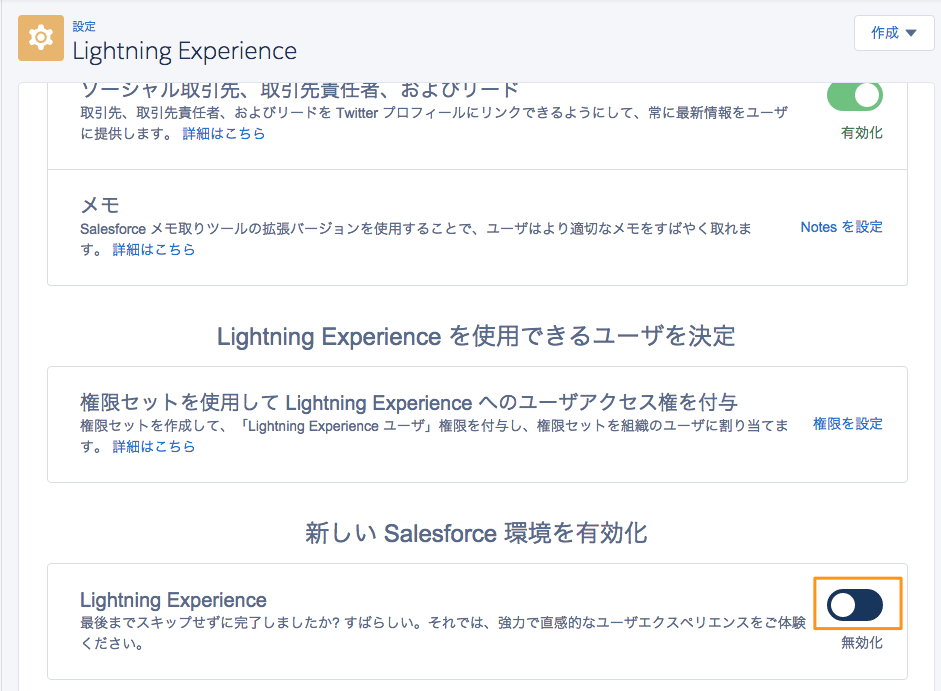
After updating page, continue with settings.
- Click the “
Lightning Experience modifications for Classic users
You can upgrade to Lightning Experience from classic in the settings menu.
Browser setting for Safari
If the following appears regularly then it is possible that browser settings are hindering proper display.
[Confirmation Method]
Safari Browser → Environment Setting → Privacy → Cookie & Web Site Data
If “Always Block” or “Only Allow From Currently Accessed Web Sites” is set, it’s possible that the program will not function normally.
If an error is displayed with “Allow from accessed web sites” then please see the following link: http://salesforce-app.makeleaps.com/ and then access the ML4SF page again.
Browser settings for Internet Explorer
Applicable editions: All editions
To optimize Internet Explorer performance, from browser settings one should set the following options after the “Internet Options” dialog box.
- Under the “All” tab, Click on “Settings” under “History”.
- Under the “Confirm latest version of saved pages” option, select “Automatically Confirm.”
- Under the “Disk Space Usage” option, select a value that is 50MB or more.
“Security” tab
- Under the “Security” tab, proceed to “Internet” and then click “Customize Level” and scroll to the “Script” section.
- Confirm that the “Active Script” option is turned on. This setting must be on to use Javascript.
“Privacy” tab
- Under the “Privacy” tab, click on “Details.”
- Select the “Automatically overwrite cookies” option.
- Select the “Always allow session cookies” option.
- Select “Accept” under the “Third Party Cookie” option.
“Detailed Settings” tab
- In the “Detailed Settings” tab, scroll to the “Security” section and set as follows.
- Do not turn on the “Do not save encrypted pages to disk” option.
- [TLS 1.0 を使用]、Click on [Use TLS 1.0], [Use TLS 1.1] and [Use TLS 1.2]. Turn off [Use SSL 2.0] and [Use SSL 3.0]. SSL is not supported by Salesforce. TLS 1.0 will no longer be supported after it is invalidated (June 2016 for Sandboxes and the middle of 2017 for production environments.)
| Applicable editions: Salesforce Classic (All Editions) |
Browser settings for Firefox
Applicable editions: All editions
Salesforce offers testing and support of the latest version of Firefox. It is required that Firefox be configured to accept cookies.
- Click [Tools] | [Options] (On Mac, click [Firefox] | [Environment Settings]).
- Navigate to the [Privacy] panel.
- Under [Firefox Operations], select [Use Custom Settings for History].
- Select the [Save Site Cookies] option.
- Select the [Save Third Party Cookies] option.
- Under the “Set Time for Save” option, select “Expire”.
- Click “OK”.
To maximize performance, we will adjust detailed setting regarding the cache.
- Enter “about:config” in the browser’s location bar and press “Enter”.
- If a warning dialog appears, click “Proceed with caution”.
- Search for the following settings, double click the setting title, and enter the recommended value. The changes will take effect immediately.
- Next conduct caching settings, to set recommended browser settings for shared resources.
| Applicable editions: Salesforce Classic (All Editions) |
| Preference | Recommended Setting | Default Value |
|---|---|---|
| browser.cache.check_doc_frequency | 3 | 3 |
| browser.cache.disk.capacity | 50,000 以上。ハードディスク使用量を増やします。 | 50,000 |
| browser.cache.disk.enable | true | true |
| browser.cache.disk_cache_ssl | true | false |
| browser.cache.memory.enable | true | true |
| network.http.use-cache | true | true |
Browser settings for Google Chrome
In browser settings, Cookies can be accepted or blocked on a per web site basis, and those cookies can be made active or inactive.
- Open Google Chrome.
- Under the details icon in the upper right corner of the screen, click on “Settings”.
- Click the “Advanced” tab at the bottom of the screen.
- In the Privacy and Security area, click on “Content Settings”.
- Edit the “Cookie” settings.
- To allow both first party and third party cookies, select “Allow Local Data Settings”.
- To block all cookies, select “Block all data settings from sites”. If you set this, you will be unable to use most sites that require a login.
- To allow first party cookies but block third party cookies, check the box next to “Block site data from third parties”. If this is set, even is you add a site to an exception list to allow cookies, it may still be impossible to read and write site data.
Inquiries
If you have questions regarding the operation, please contact us using the “?” located on the lower right side of the screen.

TEL: 03-4550-1548
Email:support@makeleaps.com
Support Hours:9am to 6pm Japan Standard Time